
Maintaining the condition of your Knoxville concrete floors starts with fixing cracks to ensure that your home or business remains structurally sound and looking great as well. Such events as settling, changes in temperature, and heavy loads can lead to cracks in the concrete knoxville. Thankfully, fixing these cracks can be a simple DIY project when you have the proper materials and process.
Assess the Damage
It is important to examine the damage before commencing any repair work. Basic concrete Knoxville repair products will repair small hairline cracks and you may need professional help for more serious cracks. Measuring the Width and Length of the Cracks to Decide on the Repair Method
Clean the Area
Clean out the cracked region to provide an appropriate surface for the bonding materials. Brush away any loose debris, dirt, and old dialer nails with a wire brush. Alternatively, pressure washing can help remove more resistant dirt. Then let dry before moving on to the next step.
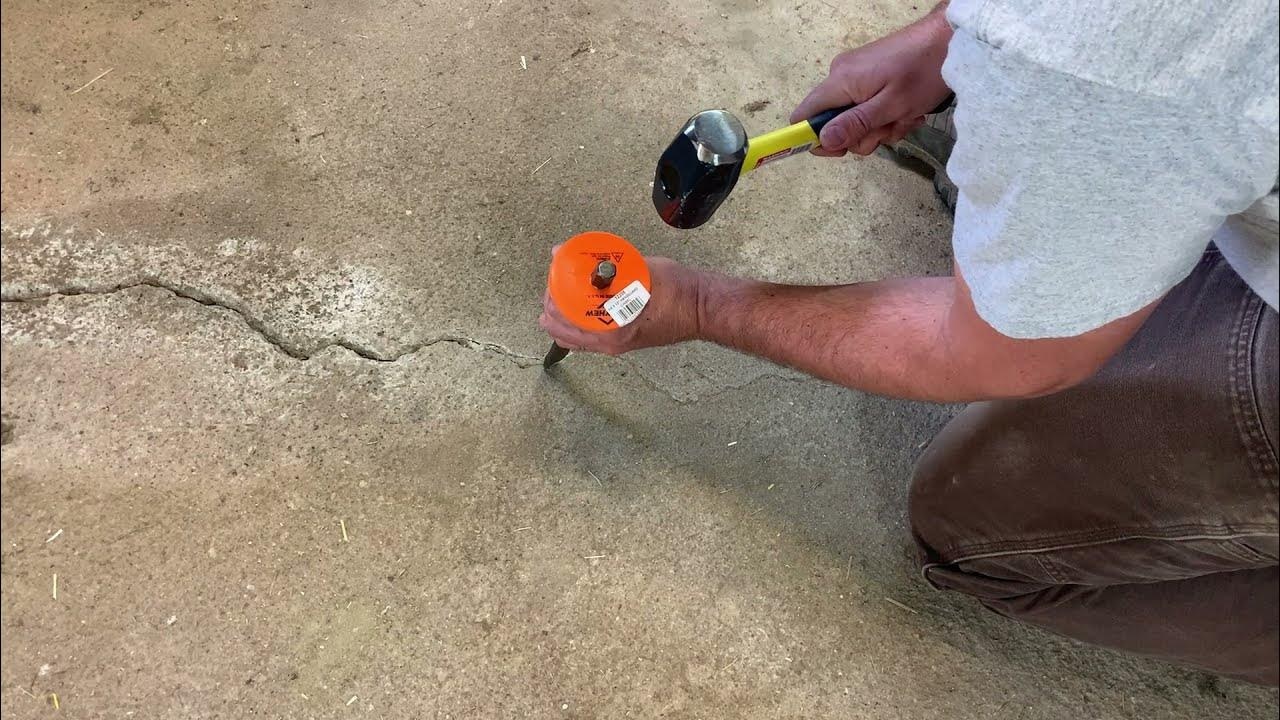
Prepare the Crack
If small, use a chisel and hammer to widen the area surrounding the split into a V shape. This will increase the bonding strength with the repair material. With larger cracks, you may have to use a concrete saw to square off the edges. Ready to go, vacuum, or use an air compressor to blast away any leftover dust and dirt.
Select the Right Patch Aggregate
Choosing the right repair material is important for repairingthe last. Hairline cracks may only need a concrete crack filler or adhesive and a liquid concrete patch. For larger cracks, an epoxy concrete repair compound or a 2-part polyurethane sealant are the best solution for their flexural and strength properties.
Apply the Repair Material
Mix and apply the repair material according to the manufacturer’s instructions If you use liquid fillers, they can be pumped directly into the crack with a caulking gun If the compound is thicker, use a trowel to force it well into the crack so that it fills the depth. Use the trowel to level the surface with the surrounding concrete.
Finish and Cure
Erase the repair material until smooth and feather the edges to match the existing floor. Let the material cure as per the directions of the manufacturer. This may include moist or occlusive coverage of the area for a set time. To prolong the life of repair, effective curing is very important.