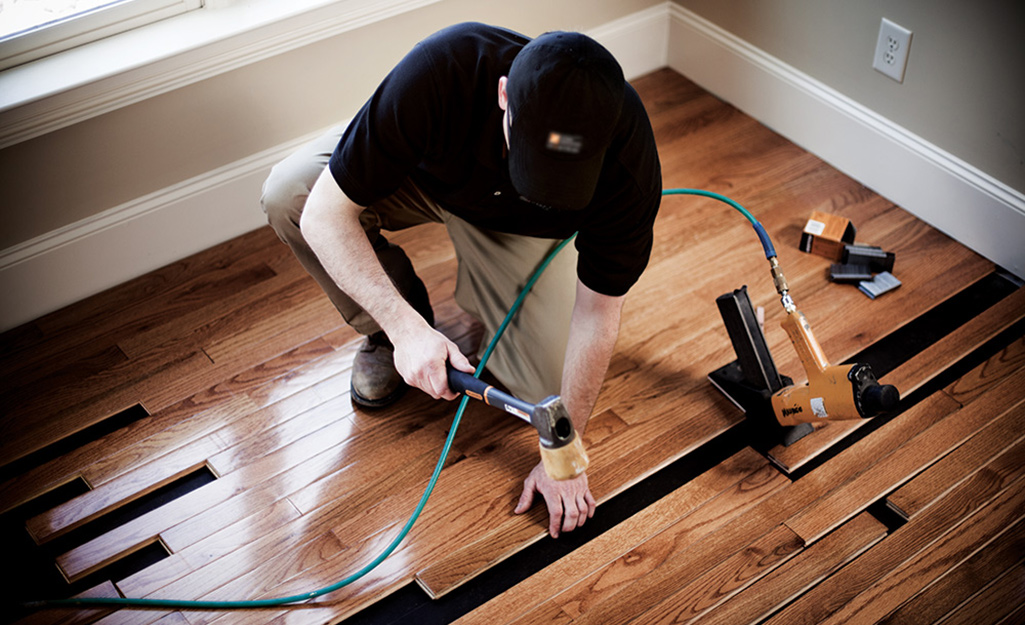
Installing new hardwood floors is transformative—but a seamless finish starts long before any nail is driven. Proper home prep ensures smoother workmanship, faster completion, and better results. Whether it’s a full renovation or a single-room upgrade, taking the right steps beforehand makes all the difference. Companies like Plancher Mebesa hardwood floor installation emphasize this preparation phase to ensure your project runs smoothly and your floors last for decades.
1. Clear the Space Completely
Start by removing all furniture, décor, rugs, and personal items from the installation area. This includes:
- Big furniture (beds, dressers, shelves)
- Small items (lamps, picture frames, plants)
- Wall-mounted fixtures where necessary
- Appliances or fixtures that may interfere
Clearing space gives installers full access and protects your belongings from damage or dust.
2. Address Doorways, Moldings, and Baseboards
Before installation, you may need to:
- Remove baseboards and casings, allowing a clean edge for flooring material
- Trim doors to accommodate new floor height—leave about ¼” clearance
- Label moldings and remove them gently for reinstallation
- Keep all pieces in labeled bags for reattachment later
These steps ensure clean transitions and restore original trim without gaps.
3. Ensure Subfloor is Clean, Dry, and Level
Hardwood installers need a smooth, stable surface. Prior to their arrival:
- Vacuum or sweep thoroughly, removing dust, debris, and nails
- Check for moisture (especially on concrete slabs), as excess dampness causes expansion or warping
- Address any unevenness—floorboards shouldn’t slope more than ¼” over 10 feet
- If in doubt, ask the installers to inspect and advise corrections
A well-prepared subfloor is crucial for long-term stability and aesthetics.
4. Protect Adjacent Areas
To safeguard your home and keep work tidy:
- Cover doorways and hallways leading from the installation area with protective plastic or runner mats
- Seal HVAC vents and returns to minimize dust spread
- Turn off ceiling fans or air systems that could blow debris
- Lay down drop cloths or low-tack tape to protect walls and corners
This keeps work confined to the installation zone and minimizes cleanup afterward.
5. Plan for Temperature and Humidity Control
Hardwood is sensitive to environmental conditions. Maintain:
- A consistent temperature between 60–75°F (15–24°C)
- Relative humidity levels around 40–60% to prevent expansion or shrinkage
- Airing out your home if recently painted or plastered—fresh paint can alter humidity levels and leave residue on new flooring
These controls help ensure the wood acclimates properly and avoids post-installation gaps or swelling.
6. Arrange Access and Logistics
Installation teams need practical logistics support:
- Secure parking close to your entrance for loading and unloading
- Clear pathways from driveway or entryway to room—free of obstacles
- Confirm power access if using electrical tools nearby
- Discuss noise and disruption with neighbors if applicable
Thinking through access helps the crew be efficient and respectful of your property.
7. Communicate Special Requirements
If your home has unique constraints, inform the installer ahead of time:
- Family members with access needs (children, elderly)
- Pets that must be kept away from work zones
- Parts of the space requiring extra care or protection
- Timing needs (e.g. must be completed before hosting an event)
Clear communication ensures your expectations are met and surprises are avoided.
Conclusion
Thorough preparation is essential for a successful hardwood floor installation. From clearing and cleaning to climate control and access logistics, each step supports quality work, efficient scheduling, and minimal disruption.

